Monday, January 14, 2013

Biscuits

I bought a lot of eggs.  Egg salad sounded good, so I bought an 18-pack of eggs.  Turns out I had the same idea the week before and had forgotten about it, so now I have ~3 dozen eggs in my fridge.  Made some egg salad and hard boiled eggs, but barely made a dent in the egg population.  So I woke up Saturday morning with breakfast ambitions involving eggs.


 A few weeks ago I felt I finally conquered Baking Powder Biscuits, something I feel a respectable cook should be comfortable with and able to whip up on the fly.  So I thought I'd give it a go, but I'm concluding that biscuits are something I'd have to make 20+ times before feeling *comfortable* and confident in my problem-solving skills.  These biscuits went well, but we didn't eat breakfast until 10:30.  But it was Saturday, and late breakfast is implied.

Saturday morning cartoons for the hobbits.
For something like biscuits, pancakes, dumplings, I skip the internet and my America's Test Kitchen Cookbook and go straight to the old, falling-apart Betty Crocker cookbook.


The other inspiration was that I had leftover buttermilk in the fridge.


Good ol' Betty Crocker knows how to get things done.  However, we have different expectations on the intended appearance of the biscuits, which you'll see later.


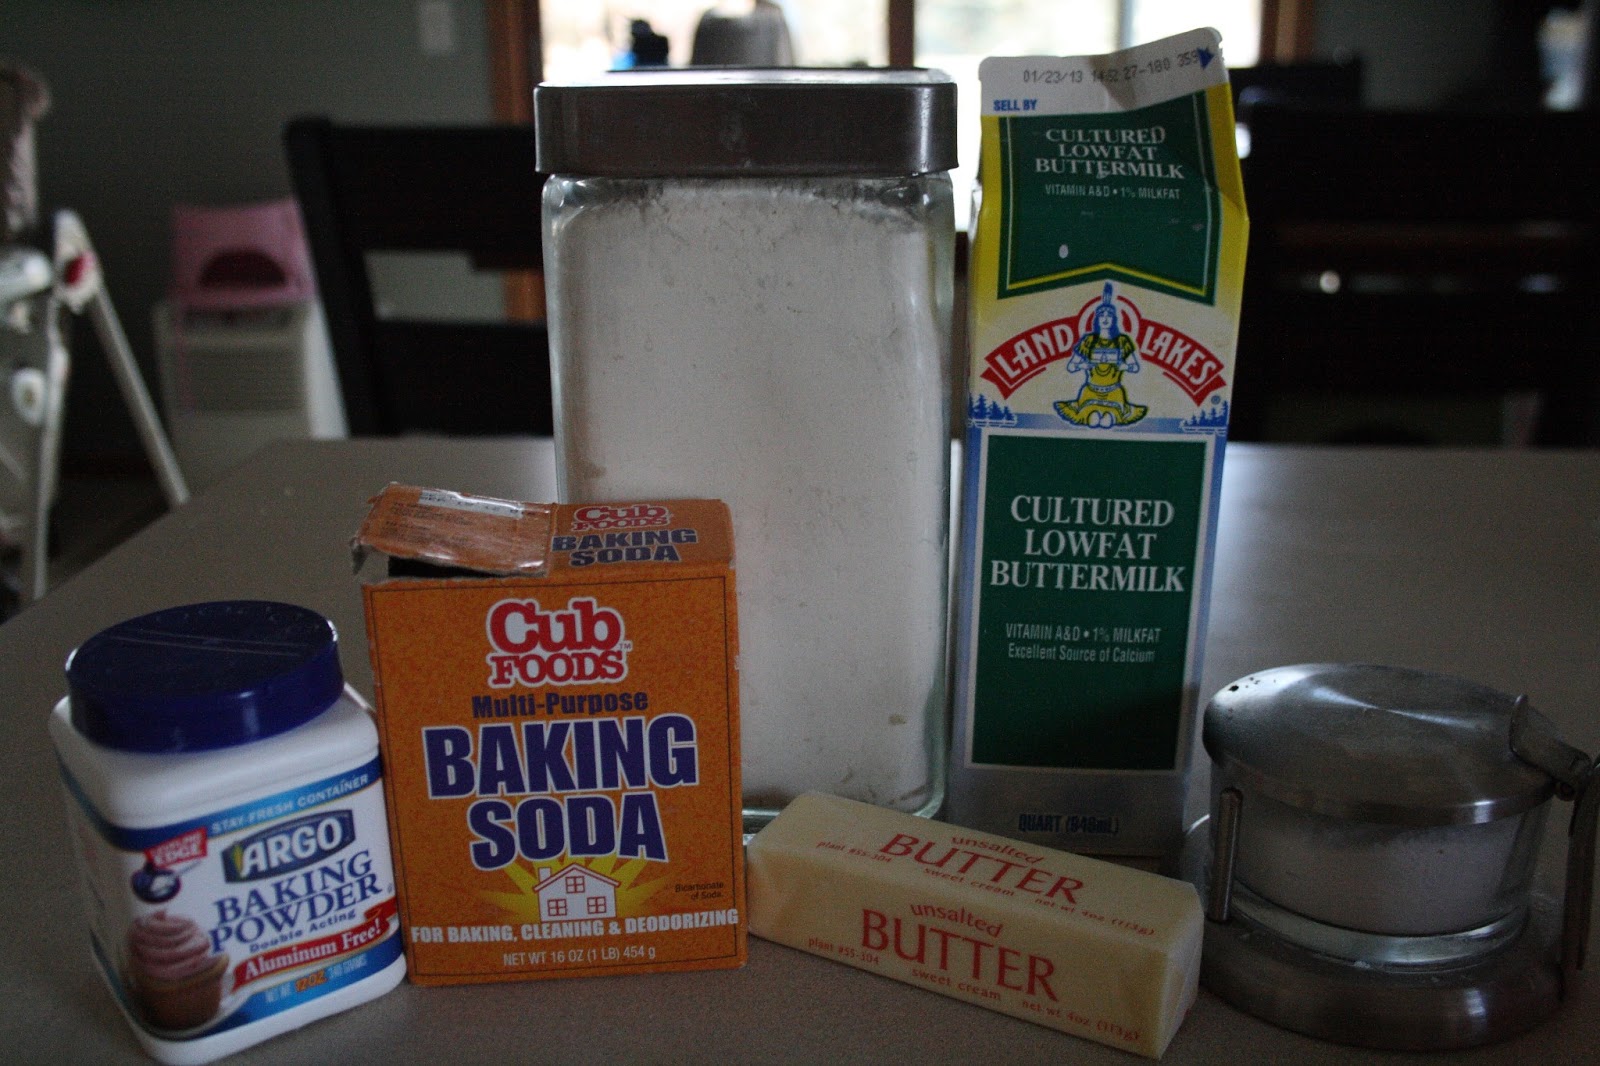
Sift dry ingredients together with your acquired helper.

1 3/4 c flour--I never realized until adulthood that 3/4 cup measuring cups do not come standard issue, and to this day it galls me every time I have to dirty the 1/2 and 1/4 cups!


Because of the buttermilk, decrease baking powder to 2 tsp.
Add 3/4 tsp salt. 
Indeed, I would also like a 3/4 tsp measure, but that I don't run into as often.


For the buttermilk version, add 1/4 tsp baking soda.


Sift dry ingredients together.


Now for the fun part!
Slice up the 1/3 cup butter.
*Keep butter in fridge until ready to use. 
Cold butter cuts into the dry ingredients much nicer.


Using a pastry blender, cut butter into dry ingredients until mixture resembles fine crumbs.
I've heard you can do this with 2 knives, but that must be incredibly tedious.
It takes long enough as it is with a pastry blender, the equivalent of 6 blades.
Perhaps this is a task most suited for Edward Scissorhands.


When I was a little girl, I wanted so badly to help out in the kitchen.  I remember a few tasks that I was allowed to do routinely, and cutting the butter in for biscuits was one of them.  I can see now why my parents would pass this task off to me, its tedious and requires more persistence rather than skill. So its perfect for a motivated kid with energy to burn. And I was oh so proud.  In my memories I got the meal nice and fine, but I'm curious to hear my parent's version of the events!
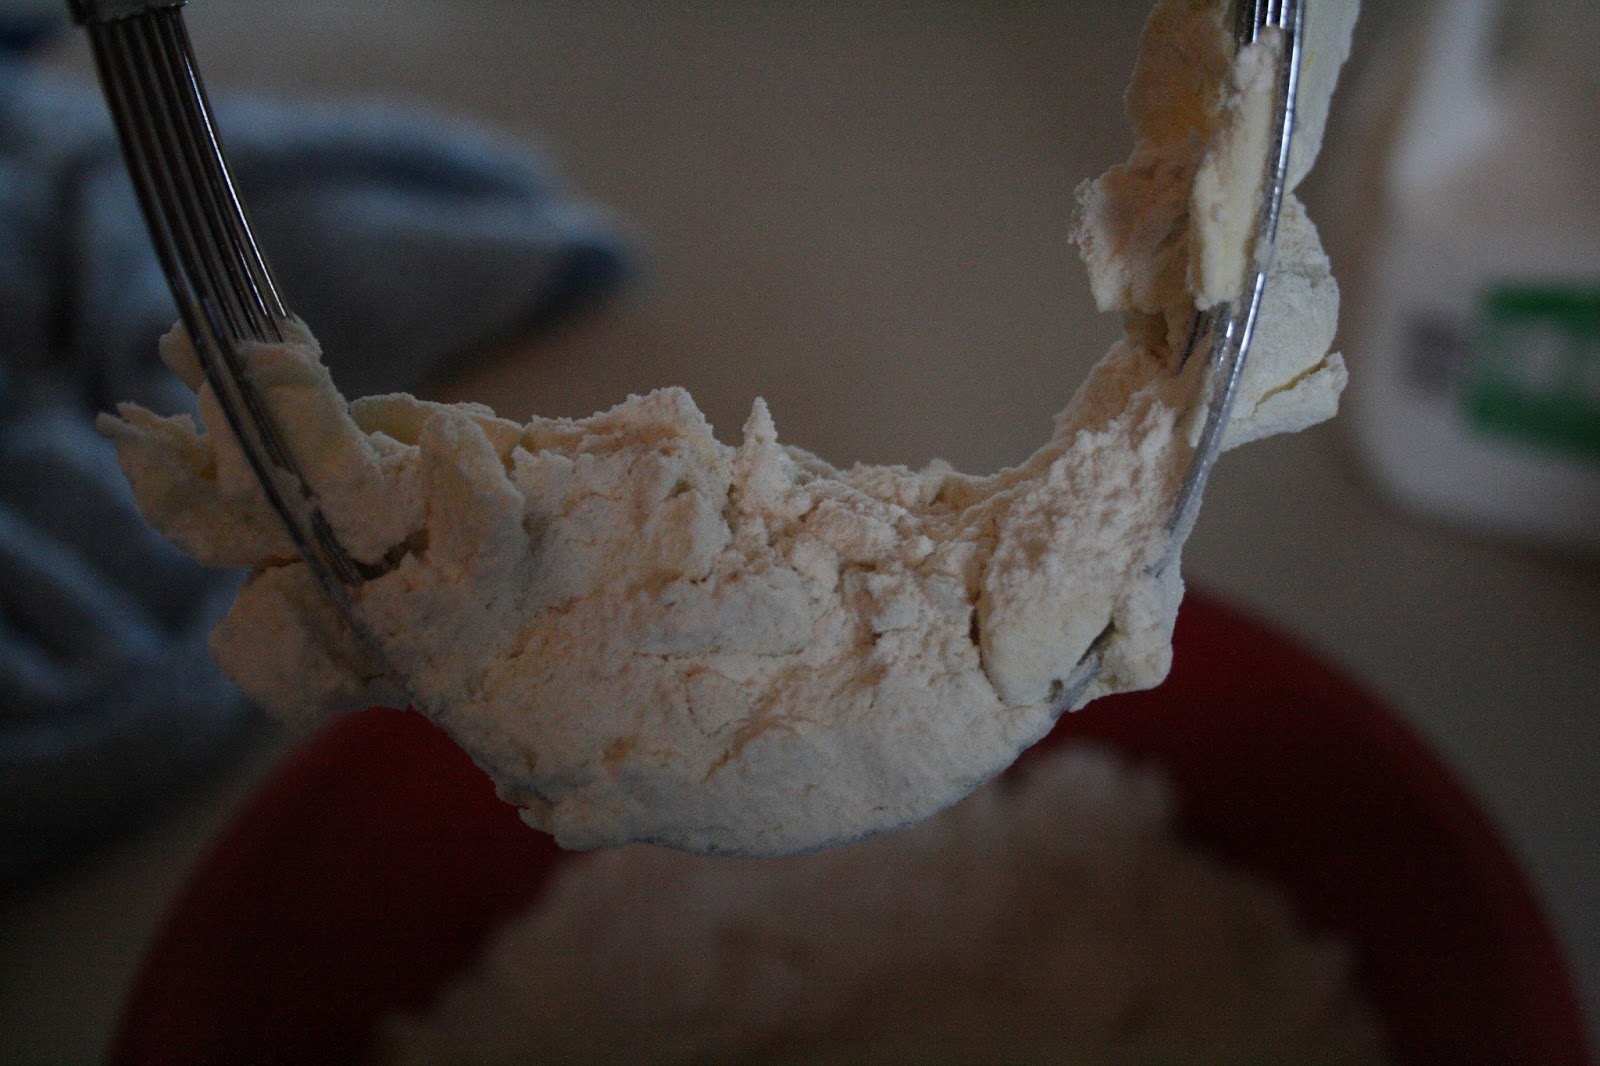

You'll be mashing and mashing, and it won't feel like much progress at first.
When the butter builds up on your pastry blender like this, scrape it off so you're not just moving flour around.


My trick is focusing on a small corner of the bowl for about 20 strokes, then moving to another corner.  This helps get the crumbs in that area finer.


What does "fine crumbs" mean?  When you're pastry blender looks like this.


And when the mixture looks like this!

I'm always worried there's not enough butter, because not every flour crumb has butter in it, but this is not streusel, and that is not imperative.  The biscuits turn out fine when they look like this.


Measure out your milk.
I was making a double batch but only had buttermilk for recipe's worth.


Add the milk. 
The instructions say to stir in just enough milk so the dough leaves the side of the bowl and rounds up into a ball.  Too much milk makes the dough sticky, not enough makes biscuits dry.
I just add the milk and knead in more flour later if its too sticky, because its close either way.


Stir the sticky mess.


Rounding up nicely, so...


Pop it onto a lightly floured surface.
I feel like an amature when it comes to "floured surfaces" and doughs in general, so I heavily  flour all my surfaces, because I hate when dough sticks to the rolling pin or the counter.


This dough was pretty sticky, so I sprinkled flour on top before working with it.


Knead 10 times lightly.
I fold it in half.


Then fold that in half.
Something I learned in pottery class in college, I'm sure its appropriate here.


Then roll it out a bit and repeat.


Roll out to 1/2 inch thickness.
This recipe is intended for 2 inch biscuits, so the ratios are right, but 2 inch biscuits are tiny, not useful for egg sandwiches.
And I got a little over-zealous in my rolling out, so in future instances I would roll them much thicker for larger cut biscuits, at least 1 inch.


Don't use a mug, it doesn't work well.
I switched to a pint glass shortly.


This is the actually fun part, for me.


Place 1 inch apart for crusty sides or touching together for soft side.


As I mentioned, a little over-zealous in the rolling out.


Knead together remaining dough and roll out again.


The last bit of dough makes for a homely biscuit.


Bake at 450 degrees for 10-12 min.
These were this golden brown at 10 min.


Nice, tasty biscuit, albeit a little squat.
The kids had theirs with butter and jelly, and we had egg and cheese sandwiches.

"Baking Powder" Biscuits
by Betty Crocker
Makes: about 1 dozen.

Ingredients:

1/3 c cold butter
1 3/4 c AP flour
2 1/2 tsp baking powder
3/4 tsp salt
3/4 c milk

*Buttermilk Biscuits Variation
Decrease baking powder to 2 tsp and add 1/4 tsp baking soda.
Substitute buttermilk for milk. 
(If buttermilk is thick, it may be necessary to add slightly more than 3/4 cup.)

1)
Preheat oven to 450

2)
Sift dry ingredients together.
Cut cold butter into dry ingredients with a pastry blender until mixture resembles fine crumbs.
Stir in just enough milk so dough leaves side of bowl and rounds up into a ball.
(Too much milk makes dough sticky, not enough makes biscuits dry.)

3)
Turn dough onto lightly floured surface.
Knead lightly 10 times.
Roll 1/2 inch thick.
Cut with floured 2 inch biscuit cutter.

4)
Place on ungreased cookie sheet, about 1 inch apart for crusty sides or touching for soft sides.
Bake until golden brown, 10-12 min.  Immediately remove from cookie sheet.


Sunday, January 6, 2013

Chickens Go In, Pies Come Out

"Ooh, what kind of pies?"
"Apple."
"My favorite!"

My favorite of few funny scenes from the long forgotten 2000 claymation spectacular "Chicken Run".  And surprisingly appropriate for this post, for today, dear friends, we are diving headlong into bulk freezer-cooking: I am making 8 chicken pot pies/shepherd pies for a Freezer Meal exchange coming up next week.

It will be my second freezer meal exchange, and I really enjoyed it last time, having 6 meals that I didn't cook at my disposal.  I've heard it said, and I fully agree, food usually tastes better when you're not the one who cooked it [providing it's a tasty dish to begin with]. 

This recipe was adapted from my neighbor Rebecca's Chicken Pot Pie recipe, of which she brought me 2 pies after our 3rd child was born last summer.  Simple to make and very tasty, it is a great standby to have in your supper repertoire.

Rebecca's Chicken Pot Pie -- Original Recipe

1 lb chicken, cubed                           1/2 c chicken broth
1/2 c. Italian drsg                              10 oz mixed veggies
8 oz cream cheese                             2 pie crusts (thawed, if frozen)
2 Tbsp AP flour

Cook chicken in Italian drsg in a skillet.
Add cream cheese, stir until melted.
Add flour, mix well.
Add broth and veggies, simmer 5 min.
Roll out pie crust for 9" pie pan.
Pour into crust.
Put other crust on top, cut 4 slits.
Bake at 375 degrees for 30 min.

Over time Brett decided that Italian dressing is "wiggy" when not on salad, so I started working on alternative seasonings.  Then lately I've been becoming sensitive to dairy again, so I worked on reducing the cream cheese and trying the roux (flour/broth) approach, seeing if I could keep the richness without missing the cream cheese. 

So.
Let's do this.


Instead of 1/2 c Italian drsg I used:

  • 0.5-1 Tbsp of McCormick's Montreal Chicken seasoning  
  • 1/2 tsp Thyme
  • And Sir-Not-Pictured-In-This-Blog: Rosemary

I was reminded the hard way, as usual, of how chicken broth is saltier than veggie broth.
In the first 2 batches I used 1 Tbsp McCormick's chicken seasoning and veggie broth, and the final dish was a little bland. In the following 2 batches I used 1 Tbsp McCormick's, a good dash of salt and then chicken broth, and they were too salty to eat!

So in batches #5 and #6 I used no McCormick's, no salt and did use Thyme, Rosemary and chicken broth, and then stirred them into batches #3 and #4, and I think they turned out well!
[Batches #7 and #8 were just right]


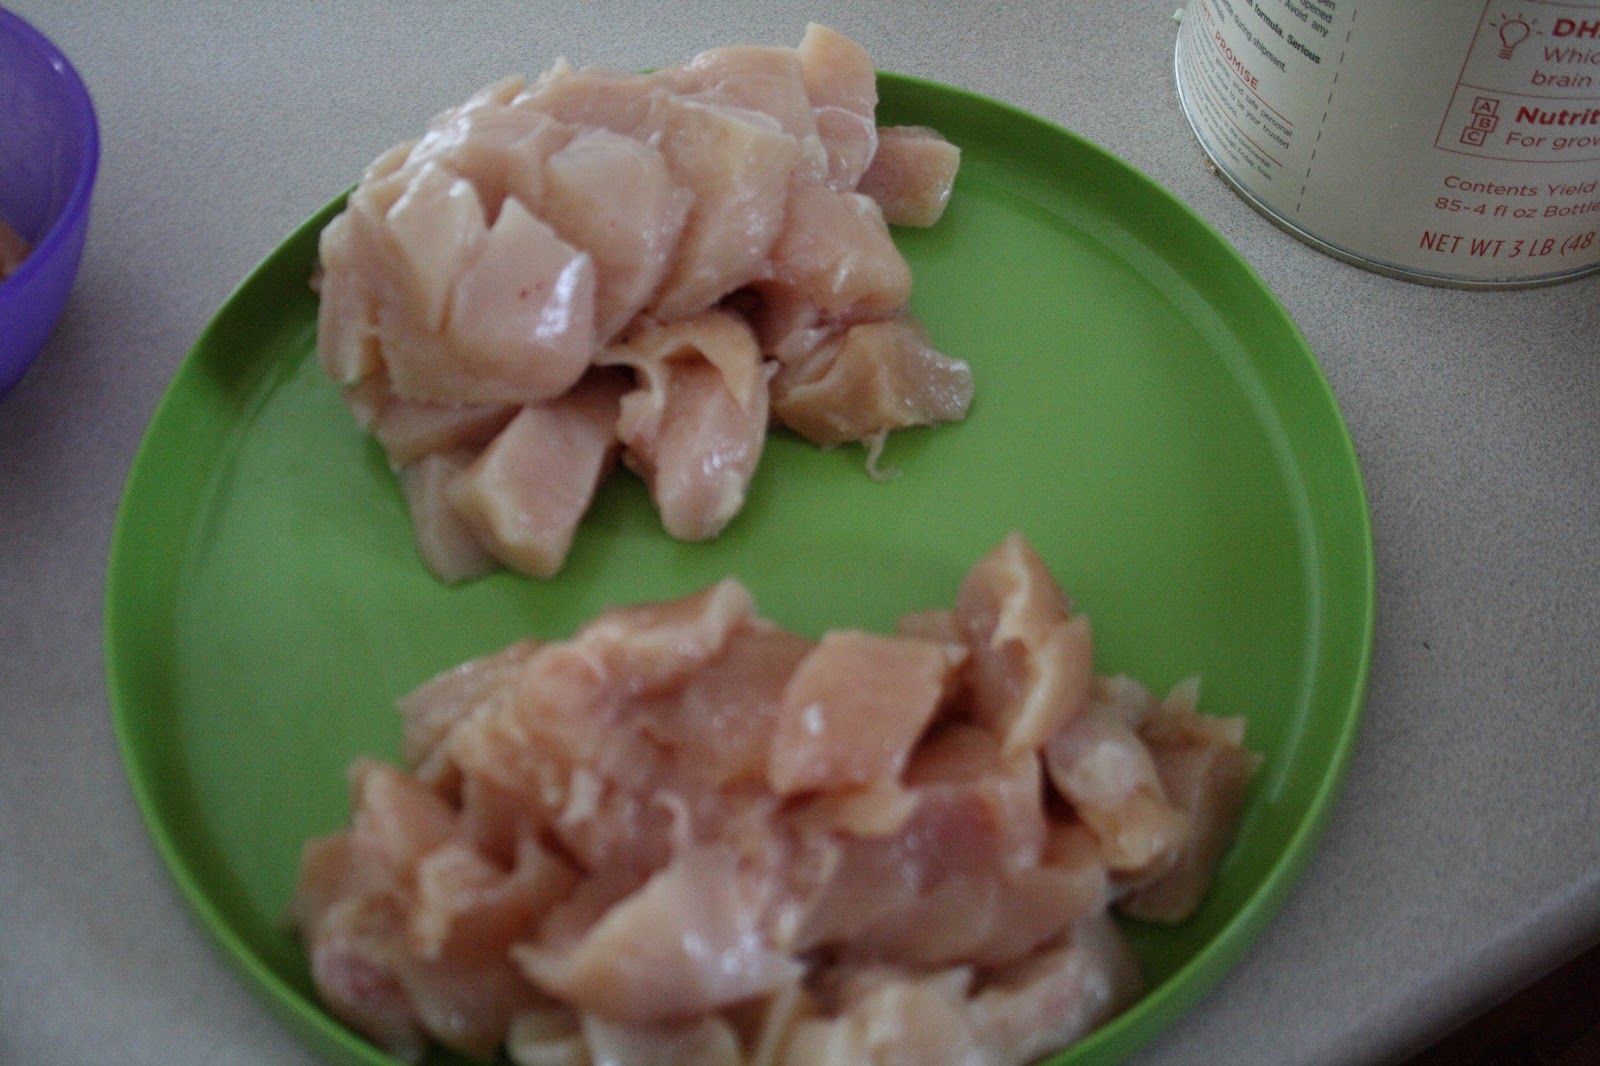
Trim and cut chicken into small pieces.


(2 piles for 2 batches)


Add chicken and seasonings to skillet and sautee.


*You're going to see pictures of different skillets throughout, because I was making 2 at a time.  
Please ignore the messy stove!


Instead of 8oz cream cheese, I reduced to 4oz and increased the broth later on. I also found that substituting my old friend Neufchatel cheese worked well--1/3 less fat than cream cheese and I didn't miss the richness, because the chicken broth and flour make for a nice, thick sauce.


Add cream cheese to skillet and melt over low heat
(In this picture I added some broth early on, but decided against that after batch 5, so hold the broth til later)


Mmm, melty


Add 2 Tbsp flour


This will be thick and pasty, and you'll worry about it being too dry,
but keep calm and carry on.
We, my friend, are making a roux.


From having less cream cheese, I increase the broth to 1 cup.


Add to skillet, increase to med heat and keep stirring.
It doesn't look like much at first, but it will turn into a thick, creamy sauce, like this:


Add 10 oz mixed veggies.
Or if you're using a big bag, I did 2 cups.


Stir in veggies, and if the sauce is very thin, simmer until thickened.
And, done!


Batch #1 I made into a pot pie, with just a crust on top instead of both top and bottom, to see if I would miss it, and I didn't.

Pappy's brand pie crusts are made with lard and taste like a rich, buttery home-made crust. They come in 4 packs, and I'm a big fan.


Roll out crust to about-ish the size and place over pie, then crumple down the edges in no particular fashion,
You can call it *rustic*.


For batches #2-#8 I made Shepherd's Pies, which is a fancy way of saying I topped it with 4 cups mashed potatoes instead of using pie crusts.  Brett argues they should be called Chicken-Rancher's Pies, since they're not lamb, so whatever.


 Chicken dish variety, FTW!

And I can't say "mashed potatoes" anymore without thinking "mershed perderders"
I love memes.
And this turtle:

 ermahgerd mershed perderders
By the way, simple, best-ever mashed potatoes, adapted from The Pioneer Woman's recipe:
.........................................................................................................................................................
Katie's Mershed Perderders

5 lb potatoes, peeled, boiled
2 sticks butter
1 block cream cheese
1/2-1 tsp Lowry's Season Salt

Boil 'em, mash 'em, stick 'em in the oven at 350 until toasty, about 20 min.
........................................................................................................................................................

So this recipe goes quickly--I made 6 batches in 2 or so hours.  Or rather it took 1 glass of wine and 2 1/2 BBC's Blue Planet episodes over the course of an evening.  But its a good recipe for bulk cooking, because its straightforward without a lot of steps.

I froze these individually in gallon bags, but they could've fit fine in quart ones, I believe.  The 4c mashed potatoes fit fine in quart freezer bags.

...and did I mention I don't want to see or smell a chicken pot pie/shepherd's pie for at least a month now, after all that cooking, I'm definitely tired of the flavor, ha!

And to make a 9x13 for a bigger family, I would at minimum double this--the filling does not overflow my 8x8 pan as it is.

Chicken Pot Pie/Shepherd's Pie 
by Katie Stime

Ingredients:

  • 1lb chicken, cubed
  • 0.5-1 Tbsp McCormick's Montreal Chicken seasoning (or comparable chicken seasoning)
  • 1/2 tsp Thyme, dried
  • 1/4 tsp Rosemary, dried
  • 4 oz Neufchatel cheese (1/2 block)
  • 2 Tbsp AP flour
  • 1 c chicken broth
  • 10 oz or 2 cups frozen mixed veggies
  • 2 pie crusts or 4 cups mashed potatoes

Heat skillet with about 1 Tbsp oil and cook chicken, McCormick's, thyme and rosemary.
Add neufchatel cheese and melt over low heat.
Add flour and stir in until thick and pasty.
Whisk in broth and bring to a simmer until thickened.
Stir in mixed veggies.
Salt and pepper to taste.

For pot pie:
Roll out pie crust for 9" pie pan.
Pour in filling and top with additional pie crust.
Cut 4 slits in top crust.
Bake at 375 degrees for 30" or until heated through and crust is browned.

For shepherd's pie:
Pour into 9x9 or comparable dish.
Top with 4 cups mashed potatoes
Bake at 375 degrees for 30 min, or until heated through.


Thursday, December 20, 2012

I asked for... She gave me 3...

...household recipes! No elven hair here, Master Dwarf.

In my home-maker-dom I've occasionally gotten a bee in my bonnet to try making things from scratch, and here are some examples that have stuck.  I've been using homemade laundry detergent, wipes and foaming hand soap for several months now, so these "recipes" have withstood the test of reliability and convenience over time.   

In working with these products, I've noticed a pattern:  in most "home made" product recipes I've worked with, there is at least 1 step that's a complete pain in the butt.  No surprise that over the last century a market for store bought products has emerged.

However, the following recipes have resulted in much less expensive products for our household, with truly minimal annoyance in the long run.

And now I can walk into my local co-op, with my re-usable bags and ironic glasses, head held high and safe in the knowledge I belong. "What, bulk bins of grains? I brought my own canisters, yo"

Without further adieu...

1) Laundry Detergent
...ahh, homemade laundry detergent, the frustration of many of my co-makers.  Several people I know have tried many recipes with mixed results, but overall lacking in results of consistently clean clothes that aren't heavily worn out by the soap or the process is often too inconvenient (liquid detergent).

This simple powder mix has worked well for me: 


Ingredients: BoraxWashing Soda, 1 Bar of Soap
Some people use Ivory, most recipes say to use anything.
I used Fels Naptha last time, and it cleaned well, but seemed a little rough on the clothes.


Pour 1 cup Borax.


Add to container, in this case an ice cream bucket
 (although the end product is not even a quarter of the bucket)
Mash the lumpses, Precious.


Add 1 cup washing soda to bucket.


Now for the annoying part: grate the bar of soap.
This time I'm using the small side of a box grater, took about 5 minutes.
Last time I used a microplane, and it was well over half-an-hour, 
and I couldn't use my arm for the rest of the day!


These shavings are large-ish.
Some people use a food processor to make fine powder, 
but I find if I swirl it around in the washing machine water with my hand for a minute, 
it does just fine.


Combine all ingredients.
Whew, complex stuff--I know.


Now here's the secret:
Start your water on WARM;
Add 2 Tbsp and swirl around with hand.
Powder dissolves in less than a minute.
Switch water back to COLD (if you're a COLD user), and, voila!


This will not suds up, but we don't need no stinking suds,
cloudy water is what we want!

But don't get nervous, your clothes will be clean.
...Unless they're insanely dirty, or your favorite shirt is stained.
I have regular detergent that I use when warranted, 
and I have a regular pre-treater for stains'
but our regular laundry needs are met.

And, for the record, most of Brett's and my shirts and pants have 
visible stains or marks on them each time I do laundry,
 so its not like we're washing mostly-clean clothes over here!

Verdict: Lavender Castile soap is a winner!
But don't be fooled by tricksy-lavender-scented-anything-ever out there,
apparently true lavender smells like an evergreen forest/mountain,
but really its very faint in the clothes and has a subtle freshness to them.

I'll admit I still buy the baby-scented detergent for the kids' sheets.
Ok, for my sheets, too.
Man, I love the smell of lullabies!

Recipe:

1 cup Borax
1 cup Washing Soda
1 bar of soap, grated.

1-2 Tbsp per large load of laundry. 
I use 2 Tbsp for a full washer (extra large load) on my plain-jane washer.
*Start load with WARM water, add detergent and swish around until dissolved.
Then switch to COLD.

And, the much-anticipated math: 
I got nervous doing the calculations, hoping I wasn't actually spending just as much or more than regular detergent after using my fancy soap, but I'm happy with the results.

1 Recipe detergent = 31 load (2 Tbsp/extra large) 
1 Recipe $7.04 =$0.22/load

Based on Amazon pricing, where I buy these things:
Borax $13.99/76 oz
Washing Soda $8.69/55 oz
Castile Soap $4.33/bar

Before this I was using All Free and Clear 2x all the time:

All Free and Clear 150 oz = $30
I used 4oz/load = $1.60/load

Homemade detergent: $0.22/load
My preferred store brand: $1.60/load 

Heck yeah!


2) Baby Wipes

This recipe rocks.
And we blow through wipes in this house quickly.

This is adapted from a recipe found here.
I found 2 cups water was plenty, and I cut the oil and soap by half.
Those amounts seem to work well and don't feel too soapy.

Two (3 qt) containers
These are hard to find these days--apparently Tupperware has discontinued them,
and I can only find square ones, with lids that latch on all 4 sides
Not convenient when one hand is containing the baby and/or body fluids and you only have 1 hand free!

These puppy containers I found in the pet section at Target;
they work but they're not ideal, as you'll see later on,
because the mouth of the container is smaller than the roll of paper towels,
which you'll see is obnoxious.


The key: Select-a-Size paper towels, I use Bounty Super rolls.

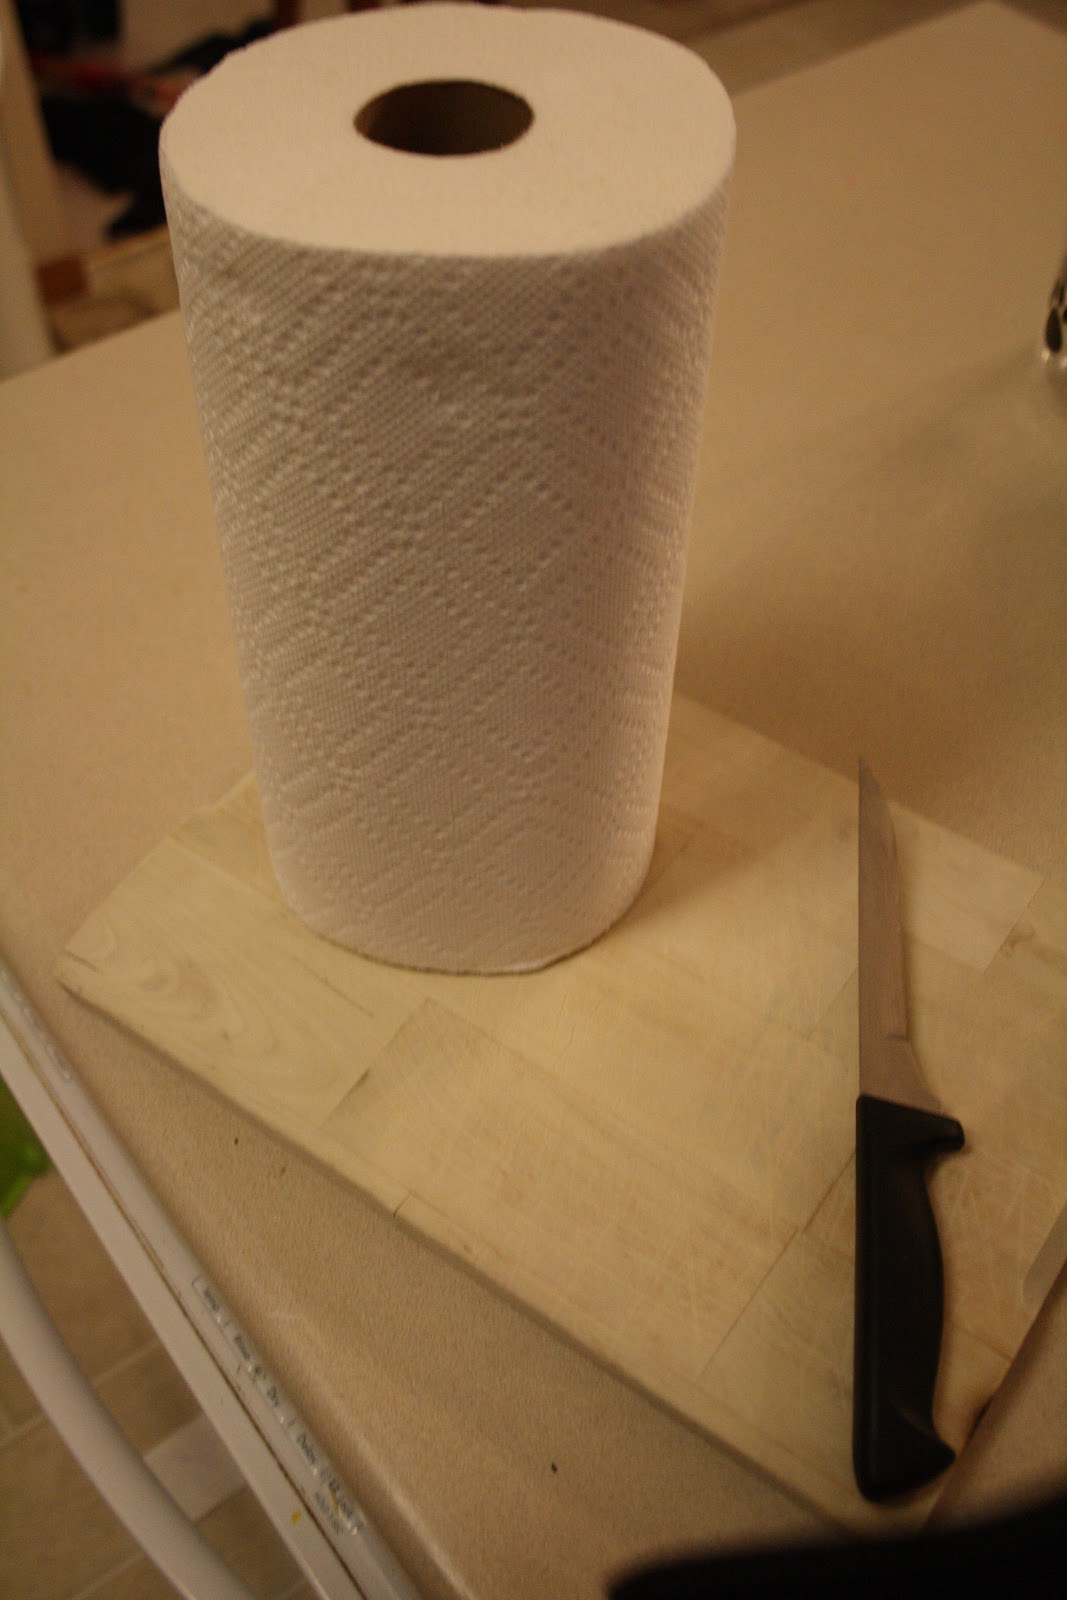
The step I hate: cut the roll of paper towels in half.
I hate the feel of sawing paper, I shudder.
Reminds me of lab in college, dissecting stuff.
I hate the friction of cutting through many textures, 
I hate even changing the sheets on my bed with dry hands, ugh, the friction.
And don't use your nice meat knife or slicer, 
use a knife you don't mind getting dull, 
'cause paper can't be good for a blade!


Almost through!


Then I throw it to the ground!


...or set them up to see if I made a remotely clean cut.


Once I bought super-jumbo rolls of Bounty paper towels, thinking it would be awesome, 
but all it meant was I'd heave and scrunch and push and swear, 
unroll 20 pieces and then just barely get it into the container,
it was awful.

Another time I was fighting and fighting to get the roll in there,
then I realized I still had the lid on (open), 
had totally stretched out the rubber seal.
Made me m-m-m-m-m-m-m-m-mad, mad mad.
Took the lid off and it worked like a charm.


Now, measure 2 cups warm water.


Add 1 Tbsp of any household oil and 1 Tbsp of baby wash (I use Liquid Castile soap) 
I've been using Almond Castile soap lately, so it makes it cloudy.


Squirt a few drops of Tea Tree Oil to prevent mold (optional)


Pour slowly and evenly over 1 container of paper towels.


Wait a minute or so, then you should be able to pull out the center cardboard.


Now you have center-pulling wipes, which is the best part.


Repeat for your second container.

We keep 1 container in the bathroom and one at the changing table.


Recipe:
1 roll paper towels--cut in half and place in individual 3qt containers

Liquid per container/half-roll:
2 cups warm water
1 Tbsp oil of your choice
1 Tbsp liquid baby wash or other soap
A few drops Tea Tree Oil

And the math:

Bounty Select-a-Size $14.99/12 rolls  [116 sheets/roll]
Dr. Bronner's Almond Liquid Castile soap  $0.32/oz
Smart Balance oil $0.10/oz

1 roll paper towels = 232 wipes
1 recipe = $1.62
1 wipe = $0.01

We had been using Sam's Club's Member's Mark brand wipes, advertised as $0.02/wipe.

Homemade wipes: $0.01/wipe
My preferred store-brand: $0.02/wipe

I make these wipes every 3-4 weeks, so its not too bad on the inconvenience front.

And finally...

3) Foaming Hand Soap
Victory!
There is nothing inconvenient about this!


You can refill a foaming soap dispenser using Liquid Castile soap.
Ok, I know, I know. Again with the castile soap.
Castile soap is made from olive oil and is supposed to be awesome in general.
I don't know why the craze, but my friends and I were all buying it
and using it in household recipes awhile back,
and now I have this ginormous bottle that I use 1 Tbsp at a time,
so it'll be around for awhile, and my house will smell of almonds.


Fill container with about 1 cup warm water.


Add about 1 Tbsp liquid soap, usually I just eyeball it.


Boom.
Done.

Now mine is always cloudy, because of the almond soap.
A friend of mine uses citrus castile soap, 
and hers is always clear and smells terrific.

The almond soap also tends to separate over time.
We were having dry hand issues, 
but when we started shaking the dispenser before use
we haven't had problems since.

The citrus soap doesn't have this issue, 
so I will be buying that next,
if I ever get through this liter of almond soap!

Recipe

1 cup warm water
1 Tbsp castile soap

Math: 

1 Tbsp Dr. Bronner Castile soap = $0.16
Homemade refill = $0.16

We previously used Method Foaming Hand Wash Refill on Subscribe and Save from Amazon: $1.60/refill

Homemade refill: $0.16
My preferred store brand: $1.60

That's it and that's all.
I will say, there have been a number of household recipes that have failed.
For instance I have yet to find a dishwasher detergent recipe that cleans my dishes more that it fogs them, even with my fancy new dishwasher.  However I have a friend, the same friend, who uses the Citrus Castile soap in her dishwasher detergent, and she does not have cloudy dishes.  
We're thinking its possibly citric acid in the soap, in the same way "they" say to use lemon koolaid powder to your dishwasher for clearer glasses.
Whatevs, whatevs...so until I get through my liter of Almond soap, I'll stick to my Finish Quantum tabs, 
to which I Subscribe and Save on Amazon for $10.20/45 count,
which I'm sure is a horrible deal.  But they are my precious, and I loves them!

So compare the price to your favorite things and weigh the convenience-vs-money-saved factor' and let me know how it goes!